
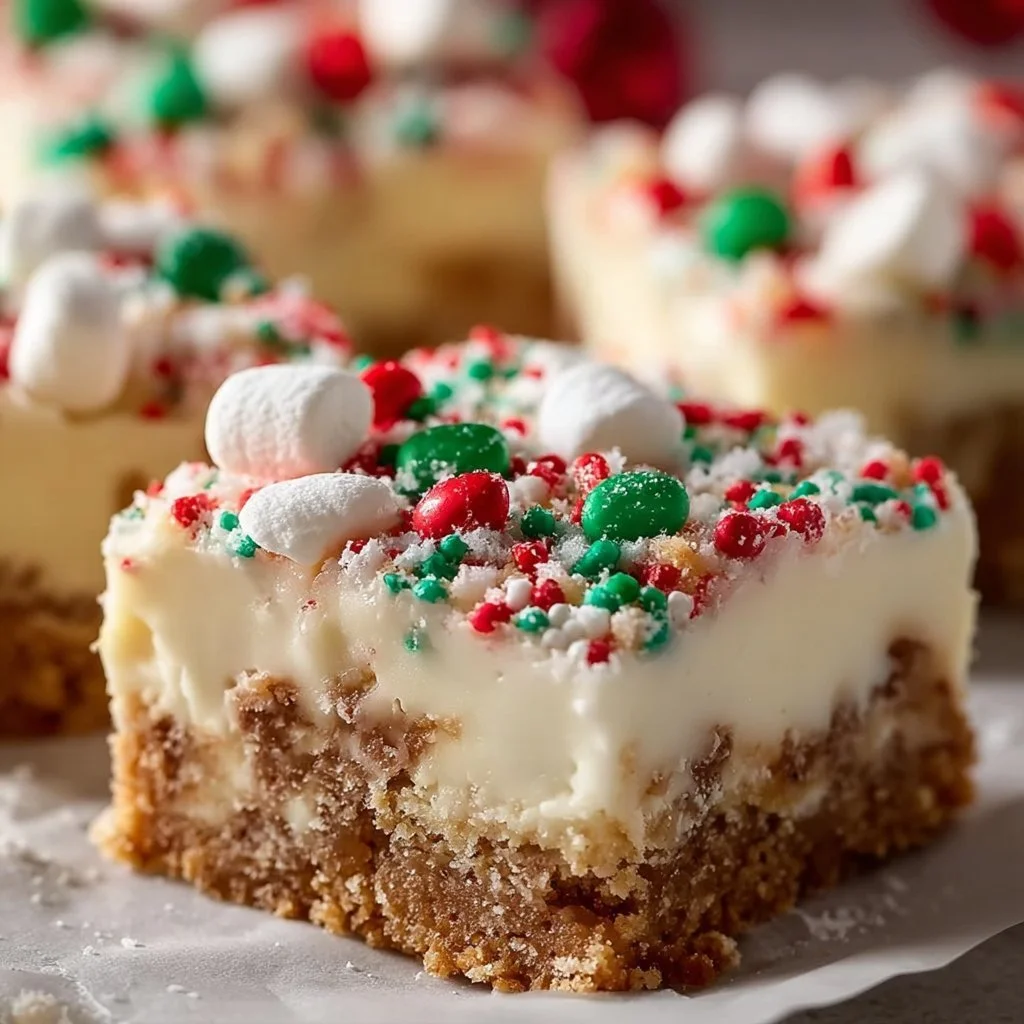
Nothing quite says “holiday magic” like the warm, comforting aroma of freshly baked cookies wafting through the house. Yet, during the bustling festivities, who has the time to bake? Enter Santa’s No-Bake Sugar Cookie Bars – an effortless, delightful twist on the classic sugar cookie that’s perfect for family gatherings or cozy weeknight treats. These bars layer the familiar sweetness of sugar cookies with a buttery, crumbly texture that melts in your mouth, topped with colorful sprinkles that add a festive flair. The bright hues and creamy vanilla essence are sure to spark joy, whether you’re indulging solo or sharing with loved ones. So gather the family, roll up your sleeves, and let’s embark on an easy, joyful kitchen adventure together!
Understanding Santa’s No-Bake Sugar Cookie Bars
Santa’s No-Bake Sugar Cookie Bars are an ingenious creation, allowing you to enjoy all the flavors of traditional sugar cookies without the fuss of baking. Originating from the need for quick, easy sweets, this recipe takes the classic cookie elements and transforms them into a delightful bar form. Imagine the flavor of baking powder mixed with vanilla, sugar, and butter, all wrapped up in a soft bar that doesn’t require an oven! These are perfect for the busy holiday season or any day you’re craving something sweet yet simple.
One of the truly remarkable aspects of these bars is their flexibility. You can whip them up in just about 30 minutes using minimal kitchen equipment, making them a go-to for birthdays, holidays, or just a cozy evening in. These no-bake bars are often served chilled, allowing the flavors to meld beautifully and creating a pleasant contrast to their creamy texture. Fun fact: you can customize these bars with various mix-ins, making them a versatile dessert that can adapt to any occasion or palate!
Why You’ll Love This No-Bake Dessert
Santa’s No-Bake Sugar Cookie Bars are not just delicious; they also offer a myriad of benefits that make them a must-try in your kitchen.
Ease of Preparation: No need for baking skills or fancy gadgets; this recipe is straightforward and lets anyone, from novice to experienced, create a delightful treat.
Flavor Complexity: The combination of vanilla, buttery goodness, and sweet sugar creates a beautifully balanced dessert that pleases everyone.
Family-Friendly: Kids love these cookie bars, and they’re a wonderful treat for them to help prepare, building exciting memories in the kitchen.
Budget-Friendly: With simple ingredients that you likely have on hand, this recipe proves that delicious treats don’t have to break the bank.
Ingredient Flexibility: You can easily substitute ingredients based on dietary needs or personal preferences, making them suitable for a variety of guests.
Step-by-Step: Making Santa’s No-Bake Sugar Cookie Bars
To get started on these scrumptious no-bake bars, you’ll need just a few common kitchen tools and minimal prep time. This delightful dessert comes together quickly and is perfect for those unexpected guests or family movie nights.
Ingredients
- 1 cup unsalted butter: Adds softness and richness to the bars.
- 1 cup granulated sugar: Sweetness that balances with the buttery flavor.
- 2 cups all-purpose flour: The base for our cookie bars, lending that signature crumbly texture.
- ½ teaspoon vanilla extract: Infuses a warm, inviting aroma that enhances the overall flavor.
- ½ cup powdered sugar: Sweetens the topping and adds a touch of smoothness.
- Sprinkles (optional): For a festive touch, making them visually appealing.
Directions
Prepare Your Pan: Line an 8×8-inch square baking dish with parchment paper, allowing some overhang for easy extraction later. This step is essential for preventing sticking and aiding with clean-up.
Melt the Butter: In a medium saucepan over low heat, melt the unsalted butter, stirring occasionally until it’s completely liquefied and bubbly. The creamy aroma that fills your kitchen is irresistible!
Add Granulated Sugar: Once the butter has melted, turn off the heat, then stir in the granulated sugar until fully incorporated. The mixture should resemble a thick syrup with a rich, buttery fragrance.
Combine the Dry Ingredients: In a large bowl, whisk together the flour and vanilla extract. Gradually pour the melted butter and sugar mixture into the bowl, carefully folding until there are no dry spots. The dough will feel soft but should hold together without crumbling apart.
Press into Pan: Transfer the cookie dough into the lined baking dish, using your hands or a spatula to spread it evenly. Make sure you press it firmly. This firmness will ensure that your bars hold their shape once cut.
Make the Topping: In a separate small bowl, whisk together the powdered sugar and just enough warm water to achieve a thick glaze-like consistency. Pour this over the cooled bars and use a spatula to spread it evenly. The shiny glaze adds a beautiful shine and sweetness!
Chill and Cut: Place the bars in the refrigerator for about 1–2 hours or until fully set. Once chilled, lift the bars out using the parchment paper and cut them into squares. The bars are now ready for devouring!
What Goes Well With Santa’s No-Bake Sugar Cookie Bars
Santa’s No-Bake Sugar Cookie Bars can be enjoyed in many delightful ways, making them a versatile treat for various occasions. They shine on dessert platters, paired with a frosty glass of milk or a warm cup of hot chocolate. Their sweet simplicity complements other baked goods or can stand alone as a sweet treat at holiday gatherings.
Milk: A classic pairing, the creaminess of milk balances perfectly with the sugary notes of the bars.
Coffee: Enjoy them with a cup of coffee, where the bitter notes beautifully contrast the sweetness of the bars.
Ice Cream: A scoop of vanilla ice cream on the side offers a creamy touch, creating a delightful texture contrast.
Fruit: Fresh berries or a fruit salad can lighten the dessert experience, adding a refreshing element.
Pro Tips for the Best Sugar Cookie Bars
To help ensure your no-bake sugar cookie bars are a smashing success, consider these expert tips:
Ingredient Swaps: Try using oat flour for a gluten-free alternative or substitute brown sugar for a richer flavor.
Spice Adjustments: Add a hint of cinnamon or nutmeg for a festive flavor twist that pairs beautifully with the sugar cookie base.
Equipment Advice: A rubber spatula works wonders for mixing and pressing the dough into the pan, ensuring an even distribution.
Storage Tips: Store any leftovers in an airtight container in the fridge for up to one week to maintain freshness.
Mistakes to Avoid: Be careful not to overmix after adding the dry ingredients, as this can lead to dense, dry bars.
Variations & Add-Ins
For those looking to put a unique spin on Santa’s No-Bake Sugar Cookie Bars, consider the following variations that can cater to different tastes and preferences:
Chocolate Chip Variant: Folds in mini chocolate chips before pressing into the pan offers a delightful chocolatey twist that everyone can enjoy.
Nutty Addition: Add chopped walnuts or almonds for a nutty crunch; it contrasts nicely with the soft texture of the bars.
Holiday Flavoring: Swap vanilla for almond extract for a different flavor profile that evokes a warm, festive feel.
Kid-Friendly Version
If you have little ones helping in the kitchen, consider letting them customize their own bars! You can set out different toppings such as mini marshmallows, crushed graham crackers, or various colored sprinkles, allowing them to create their own edible art. This little creative twist not only makes the bars more appealing to children but also encourages them to enjoy cooking and experimenting in the kitchen!
Storing and Reheating Tips
To keep your Santa’s No-Bake Sugar Cookie Bars fresh, store them in an airtight container in the refrigerator. They can last for a week, making them a fantastic make-ahead dessert option. For the best results, place a layer of parchment paper between each bar to prevent them from sticking together while stored.
When it comes to enjoying your bars after they’ve been chilled, there’s no need to reheat them. Simply take them out of the fridge and let them sit for a few minutes to soften slightly before serving. If you want to experiment, you could also warm them briefly in the microwave for about 10 seconds – just be cautious not to overheat, as it can change their texture!
FAQs
Q1: Can I make these bars gluten-free?
Absolutely! Substitute the all-purpose flour with a 1:1 gluten-free flour blend, making sure to check that your other ingredients (like vanilla extract and sprinkles) are also gluten-free.
Q2: How can I prep these bars in advance?
These bars are perfect for pre-prepping. You can make them up to three days ahead, just store them properly in the fridge until you’re ready to serve.
Q3: What can I use instead of butter?
You can replace butter with coconut oil or a dairy-free margarine to accommodate vegan diets; just keep in mind that the flavor and texture might differ slightly!
Q4: How can I adapt this recipe for a smaller portion?
To make fewer bars, simply halve the ingredients and adjust your baking dish accordingly. A smaller, 5×5-inch dish works great for this amount.
Q5: How long do these bars last?
When stored in an airtight container in the fridge, these bars can stay fresh for about a week, although they’re usually devoured far quicker than that!

Conclusion
Santa’s No-Bake Sugar Cookie Bars are not only a playful twist on a holiday classic, but they also offer a stress-free dessert option that everyone can enjoy. With their delightful flavors and easy preparation, these bars will quickly become a staple in your kitchen and make every gathering a little sweeter. So why wait? Try it tonight and let me know how it turned out!
PrintSanta’s No-Bake Sugar Cookie Bars

Effortless and delightful no-bake twist on classic sugar cookies, perfect for any occasion.
- Prep Time: 15 minutes
- Cook Time: 0 minutes
- Total Time: 120 minutes
- Yield: 16 servings 1x
- Category: Dessert
- Method: No-Bake
- Cuisine: American
- Diet: Vegetarian
Ingredients
- 1 cup unsalted butter
- 1 cup granulated sugar
- 2 cups all-purpose flour
- ½ teaspoon vanilla extract
- ½ cup powdered sugar
- Sprinkles (optional)
Instructions
- Prepare Your Pan: Line an 8×8-inch square baking dish with parchment paper.
- Melt the Butter: In a medium saucepan, melt the unsalted butter over low heat, stirring occasionally.
- Add Granulated Sugar: Turn off the heat, stir in the granulated sugar until fully incorporated.
- Combine the Dry Ingredients: In a large bowl, whisk together the flour and vanilla extract. Gradually pour in the melted butter mixture and fold until no dry spots remain.
- Press into Pan: Transfer the dough into the lined baking dish and press firmly to keep shape.
- Make the Topping: Whisk together powdered sugar and warm water to achieve a thick glaze-like consistency. Pour over the cooled bars.
- Chill and Cut: Refrigerate for 1-2 hours until set, then lift out and cut into squares.
Notes
For added flavors, consider mixing in chocolate chips or nuts.
Nutrition
- Serving Size: 1 square
- Calories: 250
- Sugar: 15g
- Sodium: 200mg
- Fat: 14g
- Saturated Fat: 8g
- Unsaturated Fat: 4g
- Trans Fat: 0g
- Carbohydrates: 30g
- Fiber: 1g
- Protein: 2g
- Cholesterol: 30mg
Keywords: no-bake, sugar cookie bars, holiday dessert, easy recipe


