

If you’re on the lookout for a sweet treat that combines simplicity with mouthwatering flavor, then you’ve stumbled upon The Best Jelly Thumbprint Cookies. These delightful little gems are like tiny portals to cookie heaven, bursting with brilliant color from the jelly filling and a buttery soft texture that crumbles perfectly with each bite. Just imagine walking into your kitchen and inhaling the warm, sweet aroma of freshly baked cookies mingling with fruity jelly; it’s the kind of scent that feels like a warm hug. They are perfect for weeknight baking or for bringing a smile to everyone at a gathering, making them an absolute must-have in your cookie repertoire. I invite you to bake a batch and savor the deliciousness that is sure to come!
Understanding The Best Jelly Thumbprint Cookies
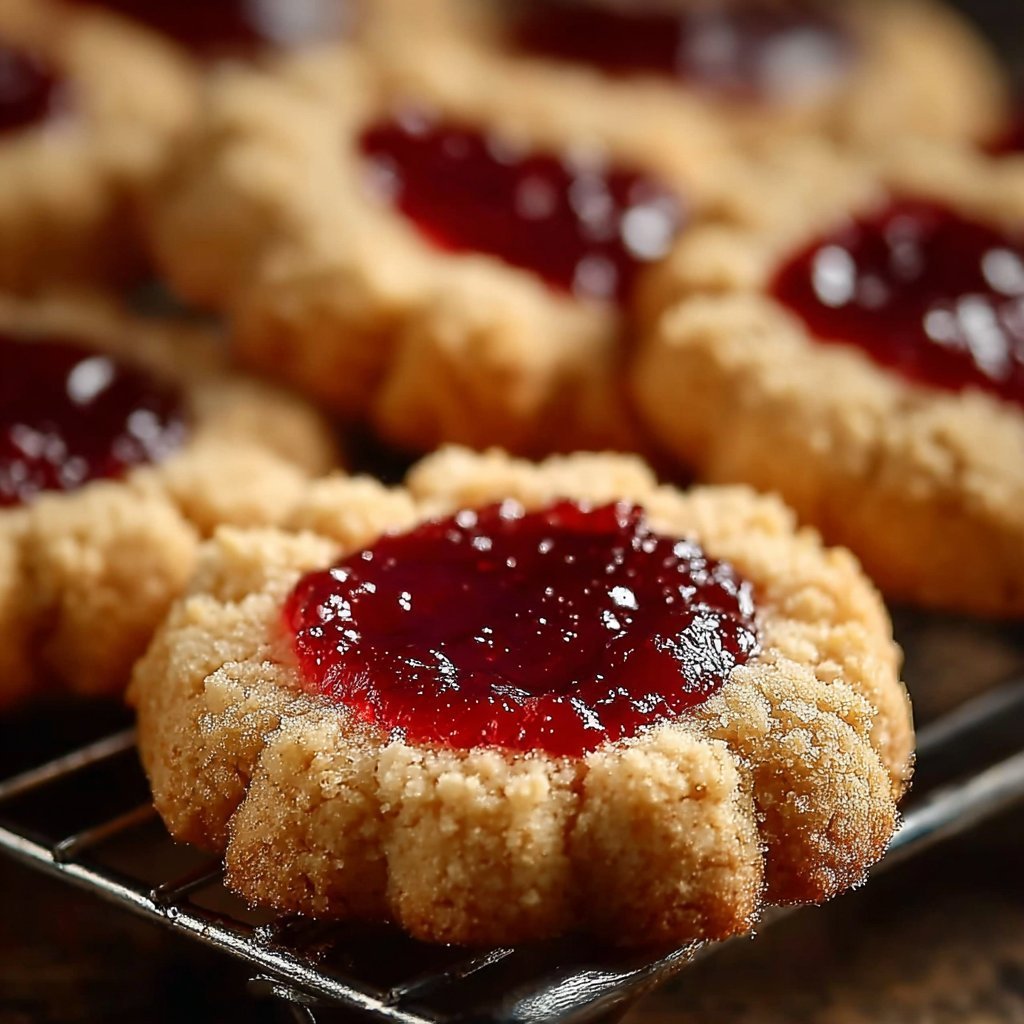
Jelly thumbprint cookies have a rich and heartwarming history, often associated with family traditions and heartfelt gatherings. Originating as a Jewish cookie called "Hamentashen," its evolution has seen it take on varying forms and flavors around the world, making it a beloved staple in many households. The thumbprint method of creating the well for the jelly not only adds a beautiful visual (usually adorned with bright colors from the jelly) but also ensures that each cookie is filled to perfection, marrying sweetness and a little tang. Whether enjoyed with a warm cup of coffee or milk, these cookies make the perfect snack for any time of the day!
Creating these cookies can also be a pleasurable experience, especially if you explore different flavors and textures via various fillings. The beauty of jelly thumbprint cookies lies in their adaptability; you can use jam or preserves of your favorite fruits, whether it’s strawberry, raspberry, or even a zesty lemon curd. When served, these cookies often find their way into dessert trays, cookie platters, or simply a baking tin on the kitchen counter for casual nibbling.
Why You’ll Love This Recipe
You’ll fall in love with The Best Jelly Thumbprint Cookies for a myriad of reasons.
- Ease of Preparation: This recipe is straightforward and manageable, perfect for beginner bakers or those short on time.
- Flavor Complexity: The buttery cookie pairs exquisitely with the sweet and slightly tart jelly, creating a blissful experience in your mouth.
- Family-Friendly: Kids and adults alike adore these cookies, making them a fun baking activity you can share with the little ones.
- Budget-Friendly: With affordable ingredients and room for creativity in the filling, this recipe can easily fit into any budget.
- Ingredient Flexibility: You can mix and match your favorite jams, offering endless possibilities for flavor!
How to Make The Best Jelly Thumbprint Cookies
Creating The Best Jelly Thumbprint Cookies is a delightful exercise in baking, and the process is both straightforward and enjoyable. You’ll need some basic tools like mixing bowls, a baking sheet, and parchment paper. The total prep time usually ranges around 10 minutes, with baking time taking an additional 12-15 minutes.
Ingredients
1 cup unsalted butter, softened
- This is the star ingredient that gives the cookies their rich flavor and soft melt-in-your-mouth texture.
2/3 cup granulated sugar
- Adds just the right sweetness to complement the jelly filling.
1 large egg yolk
- Helps bind the ingredients together and adds richness to the cookies.
2 teaspoons pure vanilla extract
- Provides a wonderful aroma and flavor depth.
2 cups all-purpose flour
- The main structure of the cookie, ensuring it holds its shape.
1/2 teaspoon salt
- Enhances the overall flavor profile and balances the sweetness.
1/2 cup of your favorite jelly or jam
- Choose your preferred flavor to fill the thumbprint wells.
Directions
Preheat your oven to 350°F (175°C). This ensures that your cookies bake evenly and achieve a beautiful golden color.
In a large mixing bowl, cream together the softened butter and granulated sugar until light and fluffy. This should take about 2-3 minutes and creates a delightful aroma that fills the kitchen.
Add the egg yolk and vanilla extract, mixing well until fully incorporated. This mixture should become creamy, offering rich smells that stimulate the senses.
Gradually add in the flour and salt, mixing until just combined. The dough may seem a bit crumbly initially, but it should hold together when squeezed between your fingers.
Using your hands, form small balls about one inch in diameter. Place them evenly spaced on a lined baking sheet. Press your thumb gently into the center of each ball to create a well for the jelly.
Fill each thumbprint with your desired jelly or jam, being careful not to overfill to avoid spilling during baking.
Bake in the preheated oven for 12-15 minutes, or until the edges are lightly golden. Your kitchen will be filled with the enticing aroma of baking cookies during this time!
What to Serve With Jelly Thumbprint Cookies
When it comes to enjoying your Jelly Thumbprint Cookies, there are numerous delightful pairings to consider. A glass of cold milk is always a classic, helping to balance the sweetness and providing an indulgent treat. If you’re feeling fancy, try pairing these cookies with a scoop of vanilla ice cream for a delectable dessert. The cookies’ buttery texture plays beautifully against the creaminess of the ice cream.
For a lovely afternoon tea, serve these cookies alongside herbal teas like chamomile or peppermint, which will uplift the flavors and provide a moment of tranquility. You might also consider offering these cookies on a dessert platter with colorful fresh fruits, which adds a vibrant touch and enhances the visual appeal.
Top Tips for Perfecting Jelly Thumbprint Cookies
To elevate your cookies to the next level, focus on your technique and the details.
- Don’t overmix the dough: Gentle handling helps maintain the soft texture of your cookies.
- Experiment with jellies: Try different flavors or even fill some with chocolate ganache for variety; creativity knows no bounds!
- Chill the dough: If you find the dough too soft to work with, chill it for about 30 minutes before rolling.
- Store properly: Ensure you keep cookies in an airtight container to preserve freshness; they can last up to a week.
- Avoid overflow: When adding your jelly, leave a little room at the top of the well to avoid overflow during baking.
Variations & Add-Ins
If you’re keen on adding a personal touch, consider some fun variations to The Best Jelly Thumbprint Cookies. Swapping in different jams—such as orange marmalade or blueberry—can create a delightful twist on the classic recipe. For a festive touch, roll the cookie dough balls in finely chopped nuts or coconut before baking; this not only adds flavor but also a lovely crunch.
You can also mix in citrus zest, like lemon or orange, into the dough for a refreshing hint, or even sprinkle powdered sugar on top after baking for that magnificent finishing touch. Whether for special occasions or everyday snacks, these small adjustments can introduce just the right amount of flair!
Kid-Friendly Version
When making these cookies with kids, you can incorporate fun into the process by allowing them to customize their thumbprints. Set out a variety of jelly options as well as some chocolate chips or sprinkles, and let the little ones choose their toppings. You can also shape the cookie dough into fun characters or shapes instead of just traditional thumbprints. This way, not only do they get to enjoy baking, but they also have a hands-on experience that makes the cookies even more special and personal.
Storing and Reheating Tips
Once baked and cooled, store your Jelly Thumbprint Cookies properly to maintain their texture and flavor. Place them in an airtight container at room temperature, and they can last up to a week. For longer storage, you can refrigerate these cookies, which will keep them fresh for up to two weeks.
To enjoy them warm, consider reheating in an oven or air fryer for a crispy exterior. Simply preheat your oven to 300°F (about 149°C) and warm the cookies for 5-10 minutes, ensuring they don’t dry out. If you prefer to use a microwave, heat in 10-second increments, keeping a close eye as they may become too soft quickly. Just be sure to let them cool before sealing them up to retain their delightful texture.
FAQs
Can I make the dough ahead of time?
Absolutely! You can prepare the dough, wrap it tightly in plastic wrap, and refrigerate it for up to three days before baking.What’s the best jelly to use?
It depends on your preference! Classic choices include raspberry or strawberry, but feel free to experiment with flavors like apricot or even a spicy jalapeño jelly for something unique.How do I prevent my cookies from spreading?
If your dough seems too soft, chilling it for 30 minutes before baking can help prevent excessive spreading.Are there any gluten-free alternatives for this recipe?
Yes! You can substitute all-purpose flour with a gluten-free flour blend. Ensure it’s cup-for-cup replacement for the best results.Can I freeze these cookies?
Yes, after baking, let the cookies cool completely and layer them between sheets of parchment paper before storing them in a freezer-safe bag. They’ll last for up to three months!
Conclusion
The Best Jelly Thumbprint Cookies are a delightful combination of buttery cookies and fruity jelly that is sure to please everyone who tries them. Their delightful textures, simple preparation, and endless filling options make them perfect for any occasion—from casual snacks to festive gatherings. I can assure you that baking these will fill your home with a warmth that makes every bite even more special. Try it tonight and let me know how it turned out!
PrintThe Best Jelly Thumbprint Cookies

Delightful cookies filled with fruity jelly, combining a buttery texture with a sweet-tart filling.
- Prep Time: 10 minutes
- Cook Time: 15 minutes
- Total Time: 25 minutes
- Yield: 24 cookies 1x
- Category: Dessert
- Method: Baking
- Cuisine: American
- Diet: Vegetarian
Ingredients
- 1 cup unsalted butter, softened
- 2/3 cup granulated sugar
- 1 large egg yolk
- 2 teaspoons pure vanilla extract
- 2 cups all-purpose flour
- 1/2 teaspoon salt
- 1/2 cup of your favorite jelly or jam
Instructions
- Preheat your oven to 350°F (175°C).
- Cream together the softened butter and granulated sugar until light and fluffy.
- Add the egg yolk and vanilla extract, mixing well.
- Gradually add in the flour and salt, mixing until just combined.
- Form small balls about one inch in diameter and place them on a lined baking sheet.
- Press your thumb into the center of each ball to create a well.
- Fill each well with jelly, being careful not to overfill.
- Bake for 12-15 minutes, or until edges are lightly golden.
Notes
For variations, try different jellies or roll the cookie balls in nuts before baking.
Nutrition
- Serving Size: 1 cookie
- Calories: 150
- Sugar: 8g
- Sodium: 100mg
- Fat: 10g
- Saturated Fat: 6g
- Unsaturated Fat: 3g
- Trans Fat: 0g
- Carbohydrates: 14g
- Fiber: 0g
- Protein: 2g
- Cholesterol: 30mg
Keywords: cookies, jelly thumbprint cookies, dessert, baking


